The deadlift is the most complete strength exercise in the gym: one movement that trains your glutes, hamstrings, entire back, core, and grip at the same time. Proper form comes down to five things — feet under the bar, hips hinged back, spine neutral, bar close to your body, and a push through the floor rather than a pull with your back. This guide walks through the full setup and execution step by step, plus the mistakes we correct most often on the gym floor.
Why the Deadlift Is Worth Learning
Few exercises give you more return per rep. The deadlift is a hip hinge — the same movement pattern you use to pick anything up off the ground — which means practicing it doesn’t just build muscle, it trains you to lift safely in everyday life.
What the deadlift works:
- Glutes and hamstrings — the primary movers that extend your hips
- Erector spinae (lower back) — working isometrically to keep your spine stable
- Lats and upper back — keeping the bar close and your torso rigid
- Core — bracing against the load through the entire rep
- Grip and forearms — holding the bar is half the battle at heavier weights
The American College of Sports Medicine recommends resistance training for all major muscle groups at least twice per week — and because the deadlift covers so many muscle groups at once, it’s one of the most efficient ways to meet that guideline.
If you’re brand new to lifting, read our complete beginner’s guide to strength training first — it covers the foundational concepts this guide builds on.
Before You Lift: Setup Checklist
Deadlift problems almost always start before the bar leaves the floor. Get the setup right and the rep mostly takes care of itself.
Step 1 — Position Your Feet
Stand with your feet hip-width apart (narrower than a squat stance), toes pointed forward or slightly out. The bar should sit over your mid-foot — roughly an inch from your shins. When you look down, the bar should cover the knot in your shoelaces.
Step 2 — Hinge and Grip the Bar
Push your hips back — don’t squat down — and hinge forward until your hands reach the bar. Grip it just outside your legs, both palms facing you (double overhand). Your arms should hang straight down like ropes; they’re hooks, not levers.
Step 3 — Set Your Back
Drop your hips slightly until your shins touch the bar, then lift your chest and pull the slack out of the bar. You should feel your lats engage — a helpful cue is “protect your armpits” or “squeeze oranges in your armpits.” Your spine should be neutral: not rounded, not hyperextended. Your gaze goes to a spot on the floor a few feet ahead, not up at the mirror.
Step 4 — Brace
Take a deep breath into your belly and brace your core like you’re about to take a light punch. This intra-abdominal pressure is what protects your spine under load.
Executing the Lift
The Pull
Push the floor away with your legs — think “leg press,” not “lift with your back.” The bar should travel in a straight vertical line, staying in contact with (or grazing) your legs the entire way up. Your hips and shoulders rise at the same rate; if your hips shoot up first, the weight is too heavy or your brace failed.
The Lockout
Finish tall: hips fully extended, glutes squeezed, shoulders back. Don’t lean backward or hyperextend your lower back at the top — standing straight up is the finish line.
The Descent
Reverse the movement: push your hips back first, letting the bar slide down your thighs, then bend your knees once the bar passes them. Lower under control. Don’t drop it, and don’t bounce reps off the floor — reset your brace between each rep.
The 5 Most Common Deadlift Mistakes
- Rounding the lower back. The most important one to fix. Usually caused by starting with the hips too high, the bar too far away, or ego-loading. Film yourself from the side — your spine should hold one neutral line from setup to lockout.
- Letting the bar drift forward. Every inch the bar drifts from your body multiplies the stress on your lower back. Keep it dragging along your legs.
- Jerking the bar off the floor. Pull the slack out first (you’ll hear a click as the bar meets the plates), then drive. A slow, tight first inch beats a violent yank every time.
- Hips shooting up early. This turns the lift into a stiff-legged back exercise. Lower the weight and practice hips-and-chest-rise-together.
- Treating it like a squat. The deadlift is a hinge. Your hips start higher than in a squat, and your knees bend less. If you’re not sure of the difference, our squat form guide makes a useful side-by-side comparison.
Deadlift Variations (And When to Use Them)
- Trap bar (hex bar) deadlift — The most beginner-friendly variation. The neutral grip and centered load make it easier to keep a neutral spine. If you’re new, this is often the best place to start.
- Romanian deadlift (RDL) — Starts from the top and stops mid-shin, keeping constant tension on the hamstrings and glutes. Excellent for building the hinge pattern with lighter weight.
- Sumo deadlift — Wide stance, hands inside the legs. Shifts emphasis toward the glutes and inner thighs and shortens the range of motion. A legitimate option, not a cheat.
- Kettlebell or dumbbell deadlift — Perfect for learning the pattern before loading a barbell.
How to Program the Deadlift
Because it’s so demanding, the deadlift needs less volume than most lifts:
- Beginners: 3 sets of 5-8 reps, once per week, starting with a weight you could lift 12+ times
- Progression: add small amounts of weight only when all sets move with clean form — the principle of progressive overload applies, but form is the gatekeeper
- Recovery: heavy deadlifts create serious systemic fatigue. Give yourself at least 48 hours before training your lower body hard again, and support the work with the fundamentals in our gym recovery guide
Frequently Asked Questions
Is deadlifting bad for your back?
No — performed with proper form and appropriate loading, the deadlift strengthens the muscles that protect your spine. Research consistently shows that progressive resistance training, including hinge movements, is associated with reduced back injury risk, not increased. What causes problems is rounding under loads you’re not ready for. Start light, master the hinge, and progress gradually.
Should beginners use a mixed grip or lifting straps?
Not at first. A double-overhand grip builds grip strength alongside everything else, and most beginners’ grip keeps pace with their deadlift for months. When the bar starts slipping on heavier sets, straps are a perfectly good tool — grip should never be the reason you can’t train your legs and back.
How much should I be able to deadlift?
There’s no number you “should” lift, and chasing someone else’s standard is how form breaks down. A meaningful long-term benchmark for many lifters is deadlifting their own bodyweight for reps — but the only comparison that matters is against your own last month.
Deadlift or squat — which should I do?
Both, ideally on different days. They train complementary patterns: the squat is knee-dominant, the deadlift is hip-dominant. If you can only pick one for a given session, pick the one that matches your goal for the day — but a balanced week includes both. See how often you should strength train for structuring your week.
The Bottom Line
The deadlift rewards patience. Master the setup — bar over mid-foot, hips back, spine neutral, lats tight, big brace — and the lift itself is just pushing the floor away. Start lighter than your ego wants, film your sets from the side, and add weight only when the form earns it.
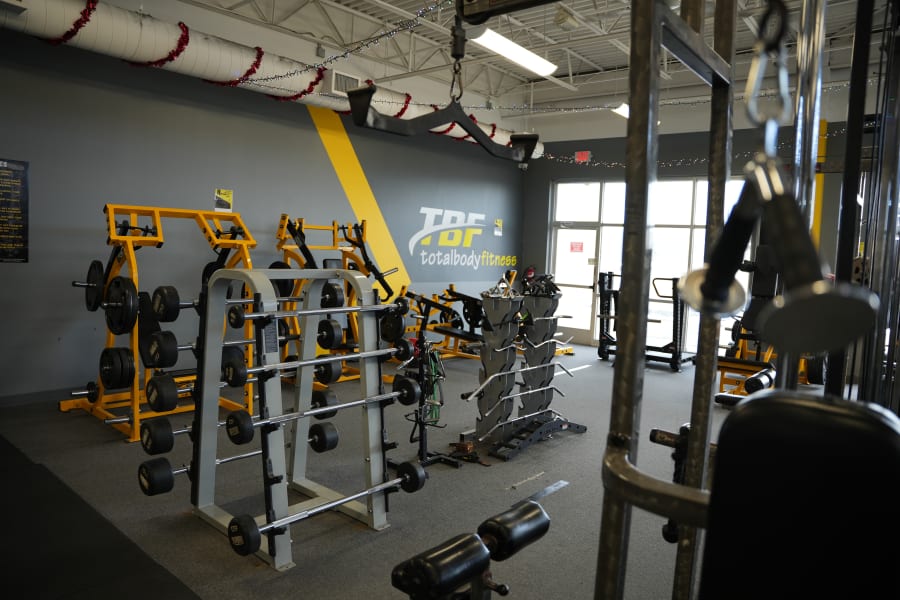
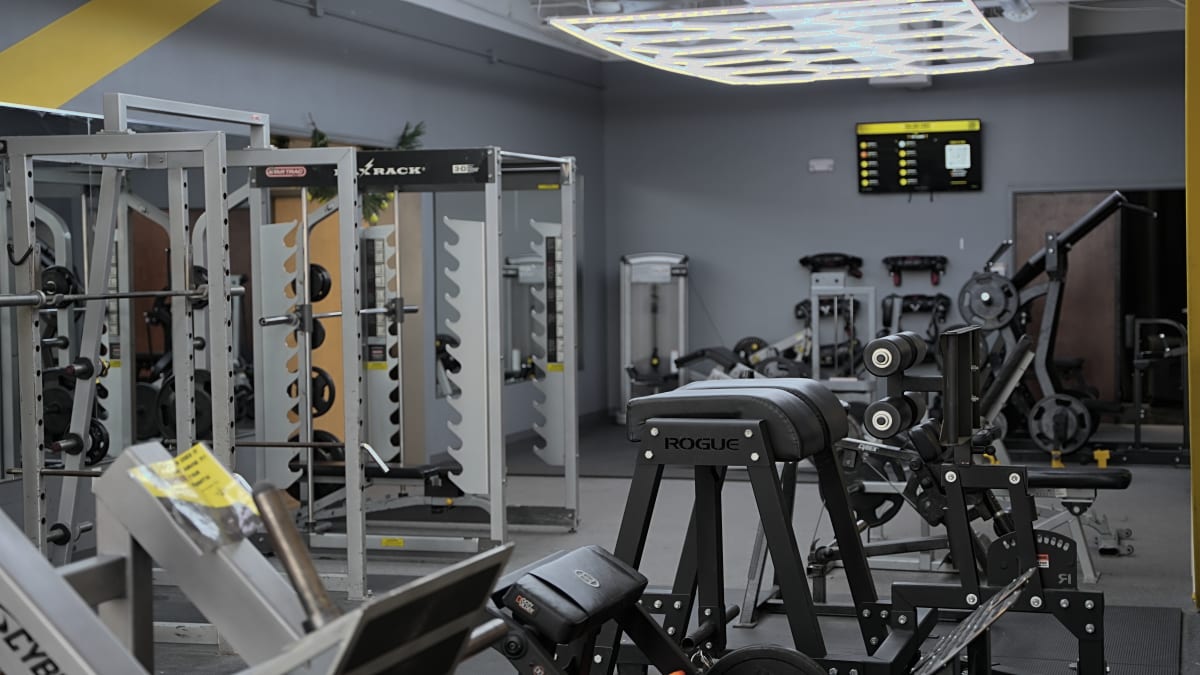
If you’d like an experienced set of eyes on your form, our trainers coach the deadlift every day — learn about personal training at Total Body Fitness, or come practice on our dedicated deadlift platforms in Lee’s Summit any hour you like with 24/7 member access.
Written by Deshae Betts, IFBB Pro and owner of Total Body Fitness in Lee’s Summit, MO. She coaches athletes from first-time gym members to competitive bodybuilders and holds certifications in personal training and nutrition.